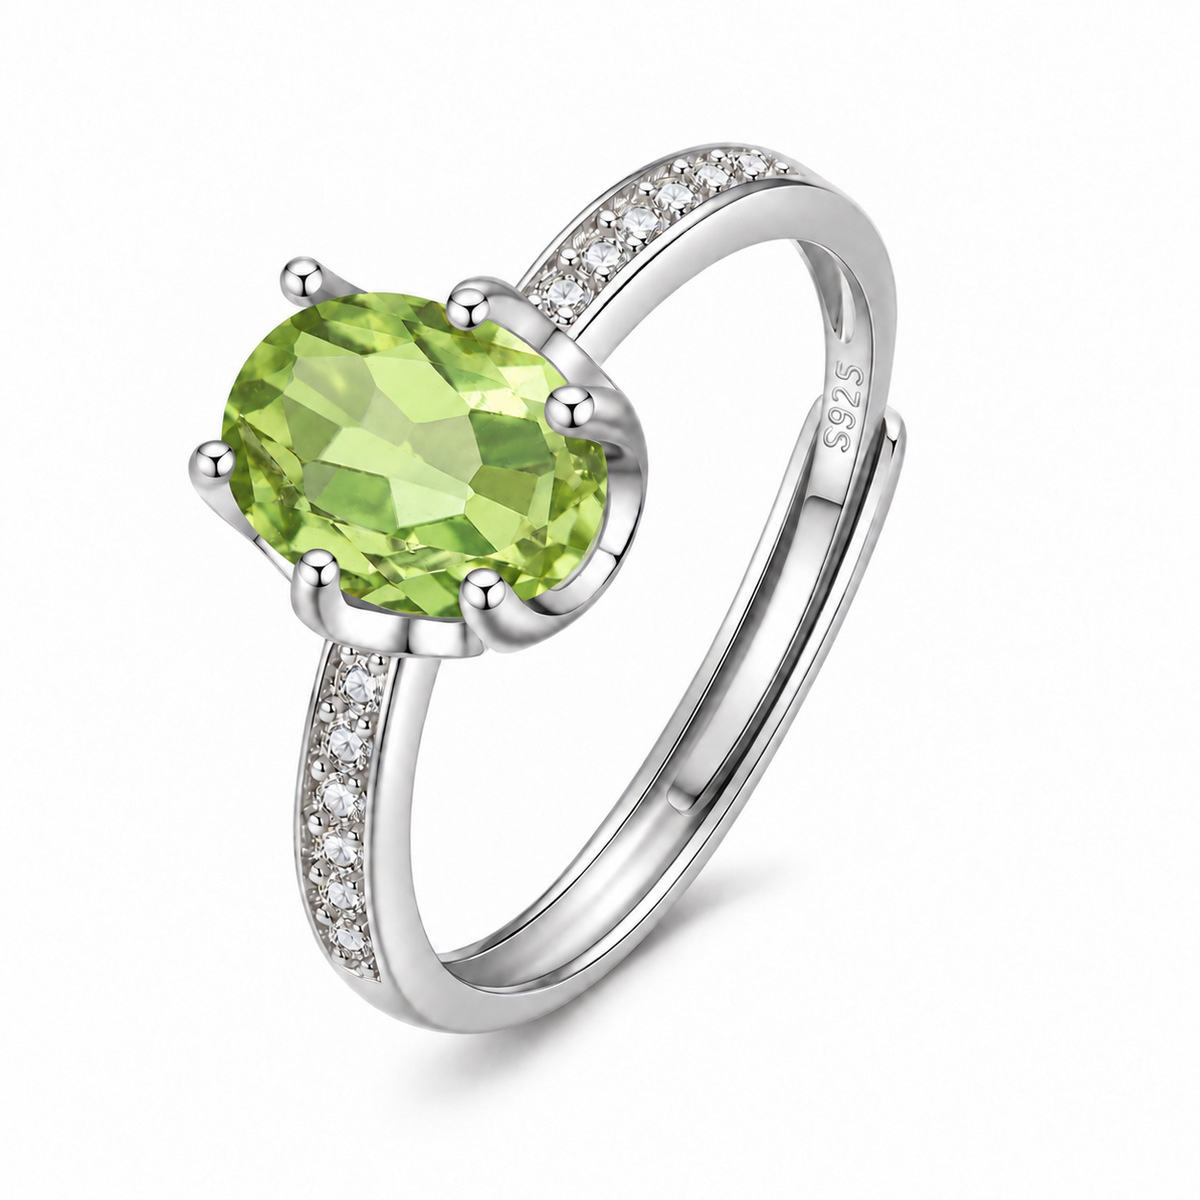
To choose a low-profile gemstone ring, check how far the setting rises above the finger and how its edges interact with clothing and neighboring rings. A top-view photograph and the phrase “low profile” do not provide enough information on their own.
Ask for a side view and a setting-height measurement where available. Then compare those details with a ring you already find comfortable.
Separate center size from setting height
The center’s face-up width tells you how much area it occupies from above. Height describes how far the setting projects from the hand. Two rings with similar center dimensions can have different profiles.
A surrounding halo, basket or decorative bow can add width or height beyond the gemstone itself. Consider the complete structure, not only the center-stone number.
Ask for the side and underside
Look at how the setting joins the band, whether details project outward and where the ring might touch an adjacent finger. Photographs can help you compare construction, though only trying it on establishes your own experience of fit.
Think about your normal activities
Consider sleeves, pockets, gloves and the amount of hand movement in your routine. A smoother outline may suit some activities better than a design with exposed decorative points.
Low profile does not mean suitable for every task. Remove jewelry for activities that expose it to force, abrasion or chemicals, following the seller’s guidance for the complete piece.
Check whether a neighboring band can sit beside it
A low basket may leave less clearance for a straight companion band. Conversely, a taller setting may accommodate one design but still create contact in another place.
If you plan to stack rings, ask for a side-by-side view or relevant dimensions. Do not assume the rings will sit flush because both bands look slim from above.
Use setting labels as a starting point
Bezel and prong describe how a stone is held; neither word alone establishes height. A bezel may be raised, and a prong setting may sit relatively close to the finger.
Our bezel-setting guide discusses profiles and trade-offs. Apply those design questions to the exact ring you are considering rather than treating a setting name as a fit guarantee.
Before ordering
- Confirm ring size and band width.
- Compare side views and any available height measurement.
- Check adjacent-band clearance if stacking.
- Read the return conditions before altering or adjusting the ring.
The right profile is the one whose construction and proportions suit how you intend to wear it.
Two oval settings to investigate from the side
These rings illustrate different prong and band arrangements. Their listings do not establish a measured low-profile height, so treat them as comparison candidates rather than verified low-profile recommendations.
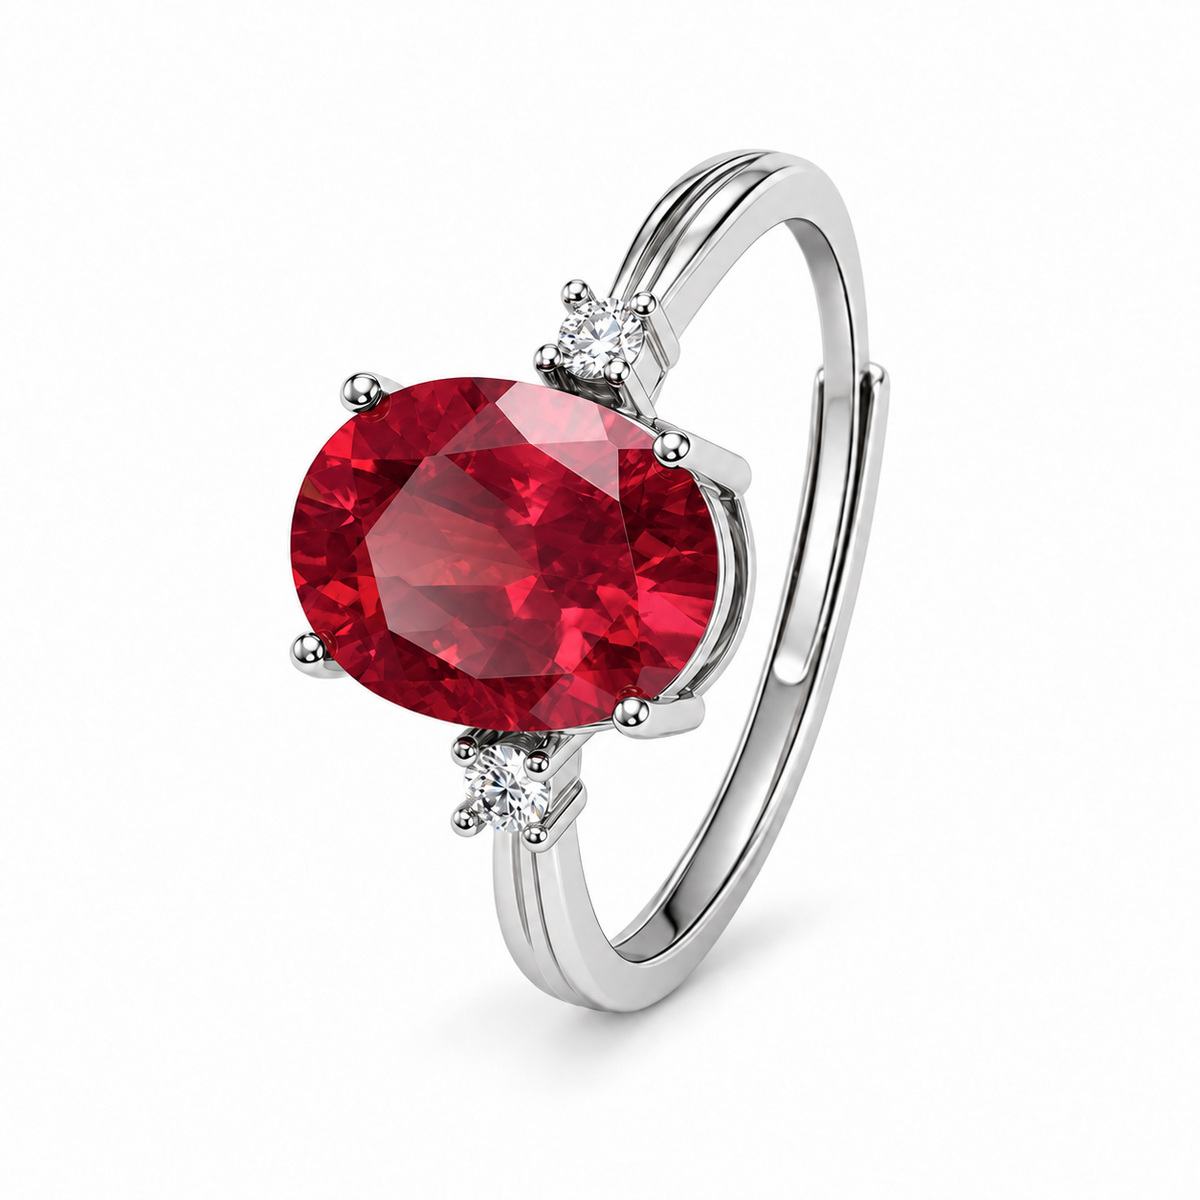
Oval four-prong open ring
The central oval, four prongs and small adjacent accents give you concrete features to inspect in a side view. Ask for the height above the finger and check where the open band sits. The pictured red center represents one of the listing’s gemstone choices.
Oval six-prong adjustable ring
The listing specifies a 6 × 8 mm center with six prongs and accent stones along the band. Compare its basket and adjacent-band clearance with the four-prong design. Six prongs do not establish lower height, better fit or a measured durability advantage.